Here is the link to the final project: http://picasaweb.google.com/lh/photo/LxqH7WI2JFExVhgVgiXiL2Pr1eekQeQXhIN4Bvq6Ht8?feat=directlink
Below is just a slideshow of the photos
Monday, December 6, 2010
Tuesday, November 30, 2010
Week 13
Portraits


These are my two favorite photos that I picked out of about twenty which I took of my friend Henry. I took portraits from different angles and different lighting (indoors and out). The two that I picked happened to be outside. The sunlight is much more brighter than lights indoors, making the photo, I think, to be more intense. I struggled to find the right pose or position to tell him to stand in, trying to make him look good. I found out that when I was just taking shots without him posing or noticing the camera, the photos seemed to have a bit more character. It makes the photos look more natural. Also, I had trouble with distortions which is shown in the top picture. Taking a picture from a higher angle than the person you are photographing makes them look shorter than their actual height. However, eventhough the first photo does not portray Henry as he really is, I still liked it.
The lighting also is a problem in the first photo. People's eyes are drawn to light, and in the photo, Henry is in the shade, making him look less conspicuous. What I would do in order to fix this problem is use the dodge and burn tool on Photoshop.
Thursday, November 11, 2010
Week 10
Clone
Original

The first thing that I cloned was the sky. I erased the telephone pole and the remaining post on the top of the bird house. After I took selections from the trees and pasted them on top of the dumpster to get rid of it. Once it was covered I had to use the smudge tool to blend the different selections together. In the edited photo, the birdhouse is much more bold. Before the changes were made, the additional objects really took the focus off of it.
Edited

Text

Attempted watermarks.

Just for fun. Messing around with the text tool.
Friday, November 5, 2010
Week 9
DODGE AND BURN
After

Before

I dodged the sunshine between the branches and burned the shadows within the branches.
FILTERS
Before
After

I used many filters on this. The main filters that you can see are the cartoon and the distortion filters. The distortion filter is the one that made the illusions in the photo. I also added a motion blur at the end.
Before

After

I added sparkle and clothified this image first. Then I warped and rippled the effects of this image. This was the final result.
Wednesday, October 27, 2010
Week 8
Original

GIMPed

The first thing I did was make color adjustments with contrast, hue saturation, and color curves. After I got the desired color I played around with the shadows and lighting. Lastly, I used the selection tool. I made a copy of large rock and placed it slightly to right of the broken piece of glass. Once I was done placing it, I made a few more copies of the smaller rocks and placed them around the glass. It makes the piece of glass stick out more. The GIMPed photo is much more interesting.
Original

GIMPed

After making a few color and hue adjustments, I went farther into the colors and contrast. I used the color wheel to make the grass greener and for the grays, (the light spots), I adjusted to a yellow tint. Although it does not look entirely natural, I thought it would be neat to experiment with different color tools.
Friday, October 22, 2010

Tuesday, October 12, 2010
Week 6- Landscapes


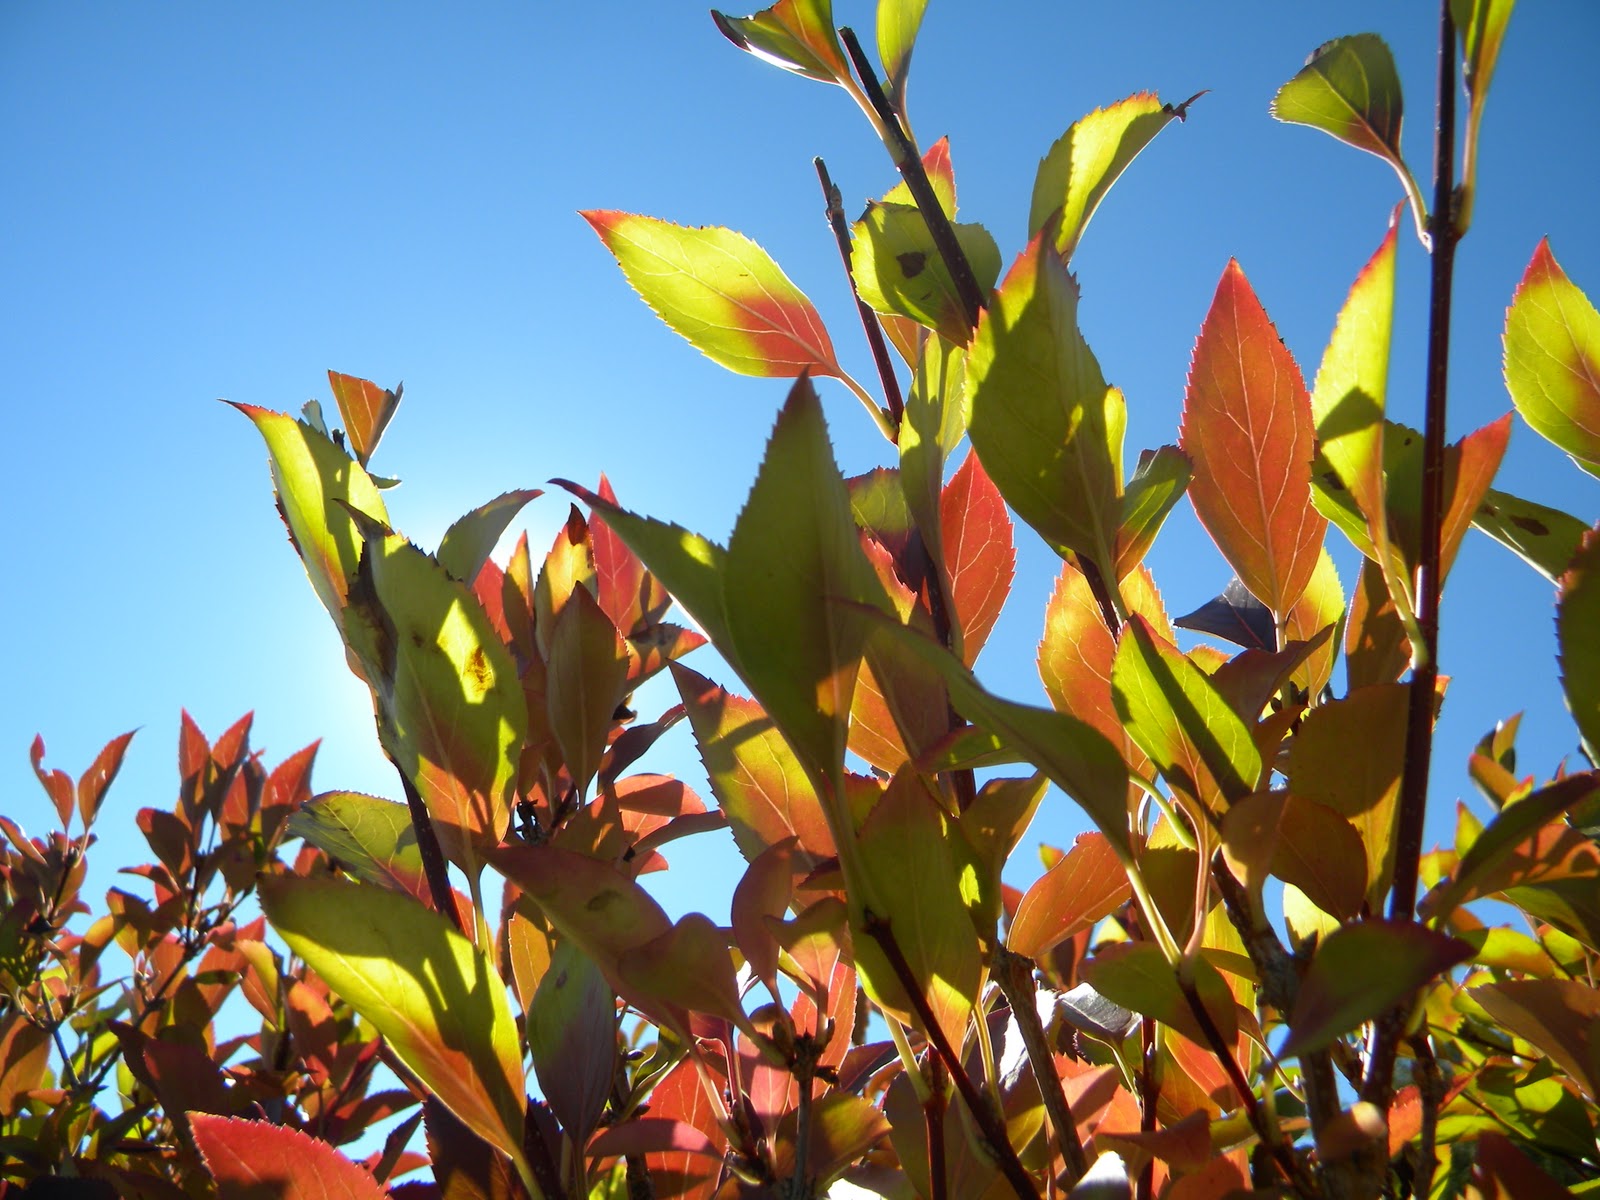
A major part for capturing landscape is depth. The more depth contained in a landscape photo the more composition contained in the photograph. Trying to incorporate depth in my landscape photos, I tried to put myself on higher elevation so that I could see far out. However, I did not do that for all photos. I walked around until I spotted an area where I was able to see out beyond what was directly in front of me.
For me, there was no trying to get "the perfect photo". Instead I tried to get the most composition. In the photos above you can that every photo has a different amount of composition and depth. Landscape for me means getting seeing/capturing the most length of land.
Settings on my camera also played a large role. For every one of these pictures I made sure that my camera remained on the "landscape" setting. Trying to use others made it blurry or discolored therefore it is also important to make sure that the camera is in the right/good mode for landscape.
Zooming was also significant in these photos. In order to display the depth, without distraction of close objects, it was important to zoom in on the part of the "land" that showed depth. Without zooming, it would have been difficult to recognize the depth because the close objects would have been so much more obvious. However, some close objects are good in contrast to show how far you actually are from the object(s) located farthest from you. (ex. the black and white photograph containing the road with mountains ahead of it) Like I previously stated, composition is very significant in landscape photos.
Subscribe to:
Comments (Atom)